

SOSS GAMING® 2023 Tactile Switch Repair Kit for Xbox One Controllers Base Model, S, Elite Series 1, Elite Series 2 – RB LB Bumper Button Repair & Fix (10 Pack)
Original price was: $19.99.$18.99Current price is: $18.99.


Price: $19.99 - $18.99
(as of Jan 19, 2025 18:52:22 UTC – Details)
Product Description

Add to Cart
Add to Cart
Add to Cart
Add to Cart
Add to Cart
Customer Reviews
4.6 out of 5 stars
524
4.2 out of 5 stars
654
4.2 out of 5 stars
10
4.1 out of 5 stars
129
4.5 out of 5 stars
157
Price
$18.99$18.99 $16.99$16.99 $13.97$13.97 $18.99$18.99 $15.99$15.99
Joystick
✓
✓
✓
✓
Soldering Required
✓
✓
✓
✓
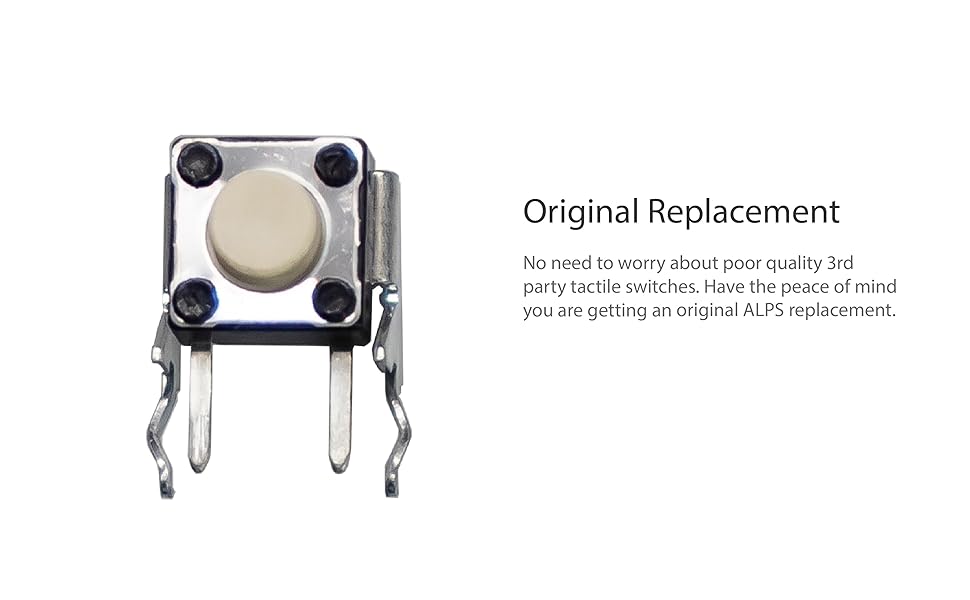
HIGH QUALITY PARTS: These tactile switches are 100% high end products and of the highest quality.
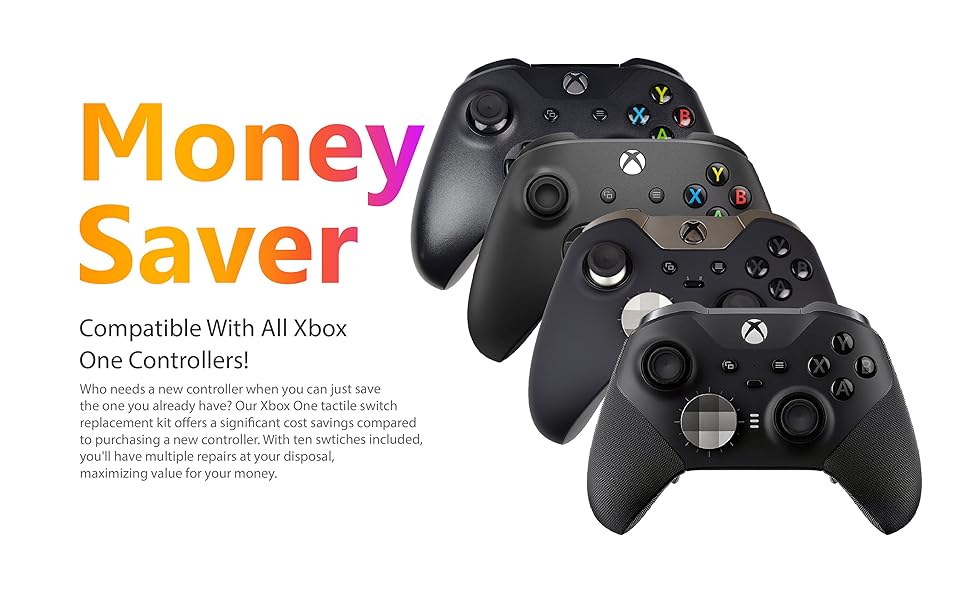
MONEY SAVER: Have a non-properly working RB or LB button? Don’t worry! This kit is the perfect solution to make your controller working like new again. No need to shell out $60-$180 or more for a brand new controller. Please Note: You will need basic soldering skills along with soldering tools and other basic tools.
WHAT THIS FIXES: RB or LB buttons with no functionality, works intermitently, or needs to be pressed hard.
PACKAGE INCLUDES: 10X Tactile Switches, 1X T8 Security Torx Screwdriver, 1X T6 Torx Screwdriver, 1X Prying Tool. Compatible with any Xbox Original Controller including Base, S, X, Elite Series 1 and Elite Series 2 models.
Customers say
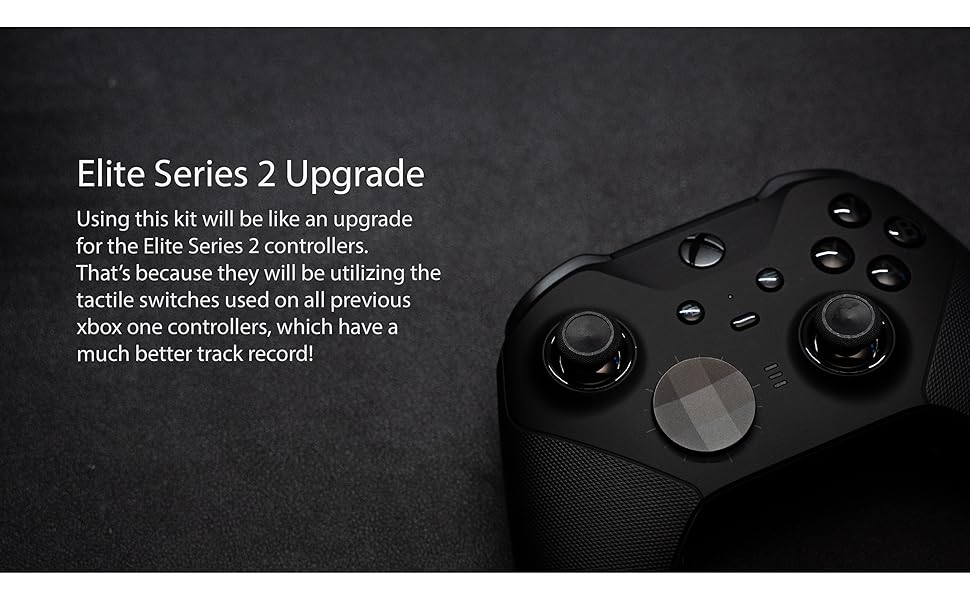
Customers find the computer input device functional and well-built. They say it works better than the original bumper buttons in the Elite 2 controller and is still going strong after heavy usage of about 4-5 hours a day. The kit contents are appreciated, with everything needed included, including tools. Many customers appreciate its fixability and size. However, some have issues with button durability. There are mixed opinions on installation ease and value for money.
AI-generated from the text of customer reviews
7 reviews for SOSS GAMING® 2023 Tactile Switch Repair Kit for Xbox One Controllers Base Model, S, Elite Series 1, Elite Series 2 – RB LB Bumper Button Repair & Fix (10 Pack)
Add a review
Related Products


Original price was: $19.99.$18.99Current price is: $18.99.
Steve W –
Works much better than the stock buttons
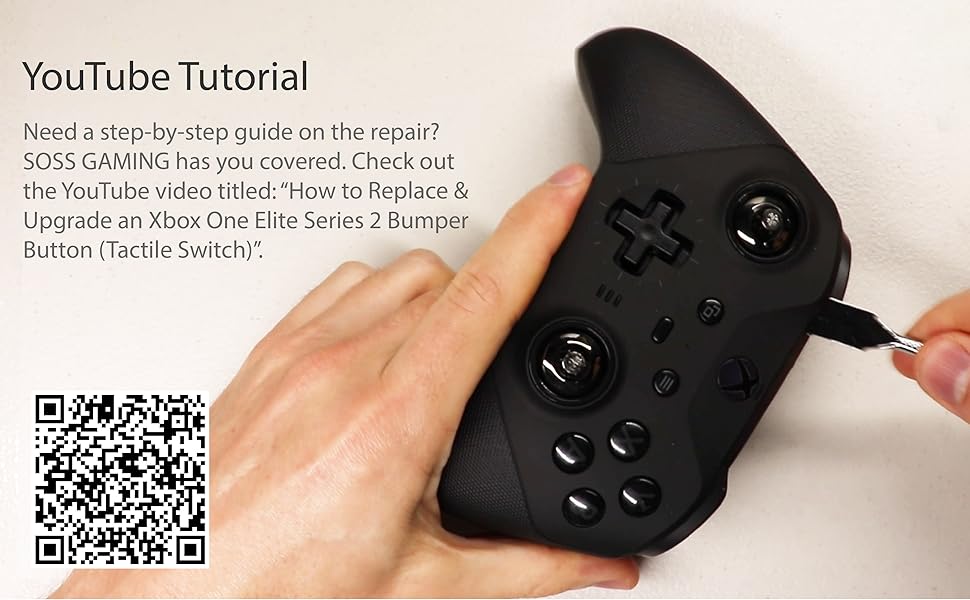
My stock bumpers were getting really bad. It was hit or miss whether a press would register and sometimes RB would double press. I tried ideas I found online like cleaning the button with alcohol, folding the thin plastic button cover backwards, but nothing worked longer than a couple hours or so. As soon as I replaced with these buttons, they work perfectly every time with no double-presses. Before, it would feel kind of “squishy” if I pressed on the far outer edges of the bumper, but now it feels consistent regardless of where on the bumper I press.Installing was a big pain, though, unless you have experience with removing and installing components from a circuit board (I had some but little). I used plastic tools from my iFixit kit to open the controller up, but these buttons do come with some cheap tools that will probably work.As far as taking apart the controller and installing the buttons, here are some tips and things I encountered through my trials and tribulations:When removing the faceplate, you need to be extra careful on the left and right sides of the controller (around halfway up on both sides) because there are 2 very thin rumble motor wires on each side that wrap from the back around to the front, and if you jam your tool in just the right spot, you could damage them.Other than that, follow the YouTube guide and be very careful not to break anything, which can be hard at times when you don’t know how much pressure you need to apply to take things apart and how much pressure it takes to break them. I ended up breaking one tiny piece of plastic when taking the top bumper bar off of the controller.When the guide tells you to use “a little outward and upward tug” (at 4:25), make sure you really do the “outward” part. Meaning, for example, on the right bumper you really need to pry it to the right, because there is a plastic tab that needs to come undone before it can move upward and off. I must have pried upward too much and snapped the thing off. It made reinstalling it a tad easier though. 😀 I’m not worried about it much. The only thing that’s affected in the end is that if I pull up on the edge of my right bumper, it stretches up like it’s not supposed to. Not a big deal since you shouldn’t be doing that anyway.Another note is that in the video, he unsolders the 8 rumble wires from the green circuit board. Someone in the comments stated that that’s completely unnecessary and they’re right (unless you’re confident enough in your soldering skills, then go ahead and do so). I skipped the unsoldering and instead just freed the wires from the clips on the front of the controller using a plastic tool, which will give you more than enough slack to get everything out of the way so that you can access the blue board, which is where the buttons are that you’ll be replacing. Be careful with these wires though, as they are very thin and you could easily scrape off the insulation or break the wires if you are rough with them.The thing I struggled with the most wasn’t removing the old switches like everyone else says, (I just cut them up into pieces like shown in the video and removed each post one by one) but was removing all of the solder from the holes on the circuit board. I imagine if you have a desoldering pump that could be a big help, but I’ve never used one. All I have is desoldering braid, which worked for cleaning up excess solder on the board, but I wasn’t able to remove all the solder that was down inside the holes.This was a huge inconvenience and I almost put the whole project on hold until I could get a pump or some other ideas. However, I stuck with it and did it slow and painstakingly. I held the new switch’s pins up to the four holes (which were filled with solder), and just went back and forth melting the solder on two holes, pushing those two pins in a fraction of a millimeter, then the other side, etc. etc. By slowly “wiggling” the pins in little by little, left to right and back, I was able to get it fully seated after quite a while. If you end up doing this, make sure you give the board enough time to cool periodically because you will be applying a lot of heat for quite a while with this method.One last note: Make sure you install these buttons as flush with the board as possible or else the controller won’t fit back together at worst, or at best the bumpers will feel too stiff. This happened to me once and I had to take it back apart to seat the button that last fraction of a millimeter. I used my phone flashlight and a magnifying glass to make sure there was no gap remaining between the button and the board.All in all, this took me around 5 hours or so, which is much longer that I anticipated but your mileage may vary. It was worth it in the end.
Ohms –
I suck at soldering.
I learned to solder through youtube videos. Burned so many tips up before that. The concept seems so easy, and for some, it is. I am not one of those people. I am a perfectionist and with soldering the more you try and make it perfect, the more you mess it up.My first solder challenge. The rumbled packs. Four wires per pack. Super easy. Get tip hot and tap the wire and they come right off. Now, putting them back is a little tricky. Don’t hold the wire to the solder point and try to tap it with the iron. As soon as the contact melts the wire will move out of place. Instead, touch the iron to the spot on the board with some solder on the tip of the iron. Move the wire into place and hold your hand steady while lifting the iron off of the board. Okay, practice is over.To remove the switch, I made sure I put flux paste all over the solder points, got the iron nice and hot, grabbed the switch with a pair of pliers, and just like in the video on youtube, kept the iron moving back and forth, touching the iron to two points at a time, until I finally freed it from the board.The hardest part was removing the solder from the holes in order to put a new switch in. I just was not able to get the solder sucker to suck the solder off. (that sounded weird) Anyway, I tried using some speaker wire to wick away the solder. No luck. I took a can of compressed air aimed it at the holes and as soon as it melted, I blasted it away. Not the ideal method but I suck at solder sucking too. There was still some residual solder making it hard for me to seat the new switches. After the first try, the one switch was a hair too high off the board and made the button stick. I took it back apart and pressed down on the switch and kept moving the iron over all the connections. It finally sat all the way into place. I put it back together. It works great. The button does not register twice per press anymore so I’m not shifting from 1st to 3rd instead of 1st to 2nd. It was definitely worth it. Oh and one last thing, when you remove the left and right bumper piece, be sure to see what you are unclipping. I managed to snap the little piece of plastic that hooks it into place. However, it really didn’t serve a purpose other than keeping the bumper strip in place while reassembling.
Avery –
great product
great quality, similar feel to an xbox one controller bumpers and amazing video with instructions
Anonymous –
Works good
Works good, button was ever so slightly bigger than the old button may need sanding. After about 6 months button has started double clicking but it comes with a lot of buttons
Coraje –
Great product.
Its a pain to remove and solder but worth it if good at soldering. Recommend using heat gun or good solder gun. Need high heat to remove old one.
Aram Azhari –
I actually took the old button out and put it aside the ones in this product and when I came back, I couldn’t tell them apart. This is a fit for Identical to Xbox Elite Controller 2’s LB / RB buttons but if you haven’t done this before, you are better off RMAing to Microsoft or even paying the service fee as fixing those buttons on Xbox Elite Controller 2 requires pretty much disassembling everything and there are some special metal columns that makes it harder to remove the circuits and put them back together.In short, this is a perfect match for those buttons but I only recommend it to electronics repair professionals.
adan oswaldo –
funcionan muy bien